
 You left us with me girding my loins to start mould making. I’m deep in the middle of this now, so really this is just a bunch of photo showing you where I’m up to.
The process we’re following is straight off the easy-composites lists:
- Assuming that the buck is done, ours has been declared to be finished by the authorities
- Clean the buck with mould cleaner, which smells suspiciously like a combination of brake cleaner and panel wipe.
- Apply four coats of Easy-lease chemical release agent
- Apply two coats of wax for good measure.
- Stick in a load of mould fences and discover that you can’t get them to stick to the mould-released surface. Sky hooks have to be used instead.
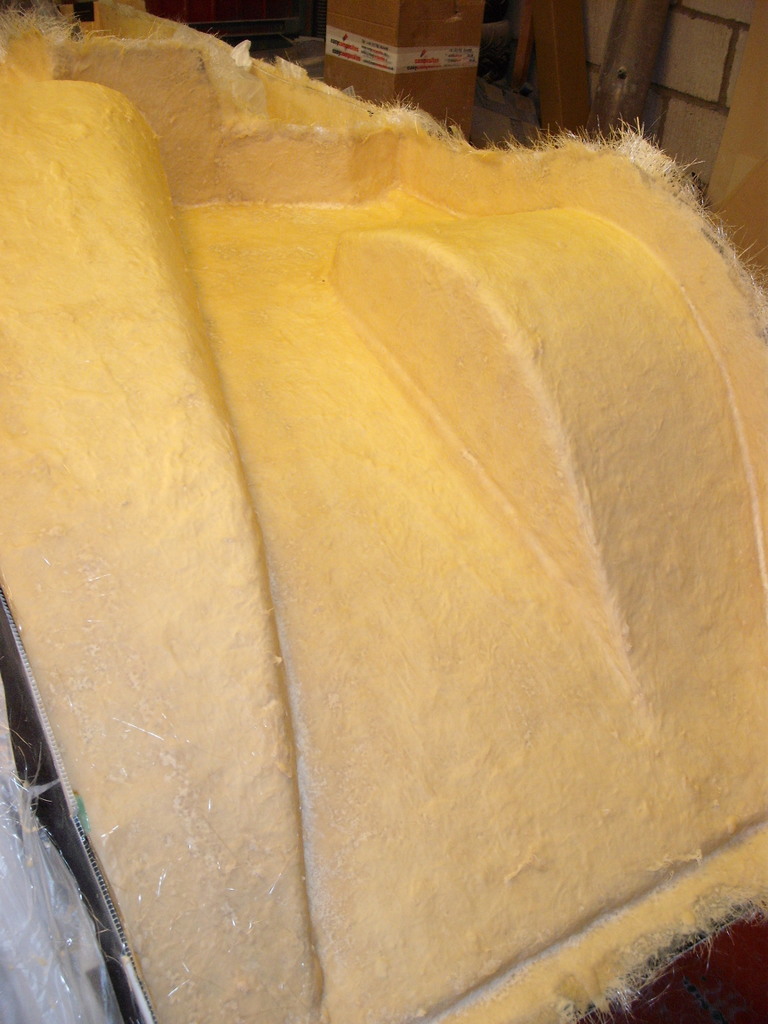
- Seal up all the gaps with prodigious quantities of filleting wax. (See the picture on the right, the yellow stuff is the wax.)
- Slop gel into mould and wait an age for it to go off. This is a vinyl ester product, as we want it to be impervious to epoxy which means:
- Apply a single layer of coupling coat resin and 150gsm CSM.
- Remove glass inserts from skin
- Apply four layers of mould resin and 450gsm CSM.
- Watch the colour of the mould change to white. Odd that.
 |
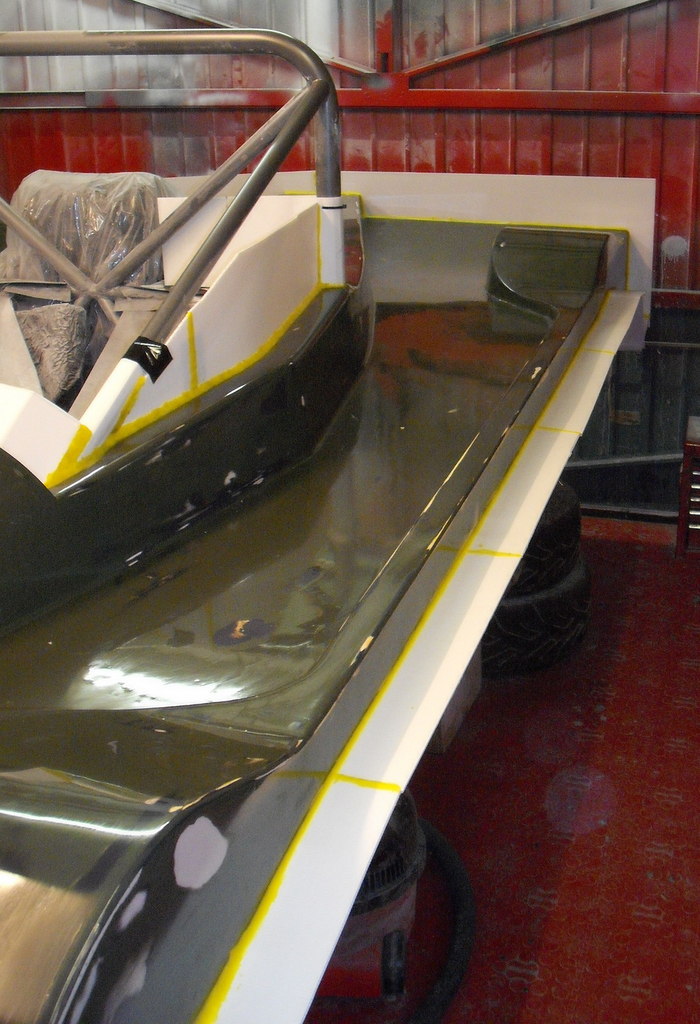
This is a collection of mould fences stuck into place as best as I could manage, which wasn’t very good. The best thing really is the wax itself which largely stays where it’s put. If you look hard you can see some release tape as well, with which I covered up the joins in the fences.The fences, by the way, are made of 4mm Correx. |
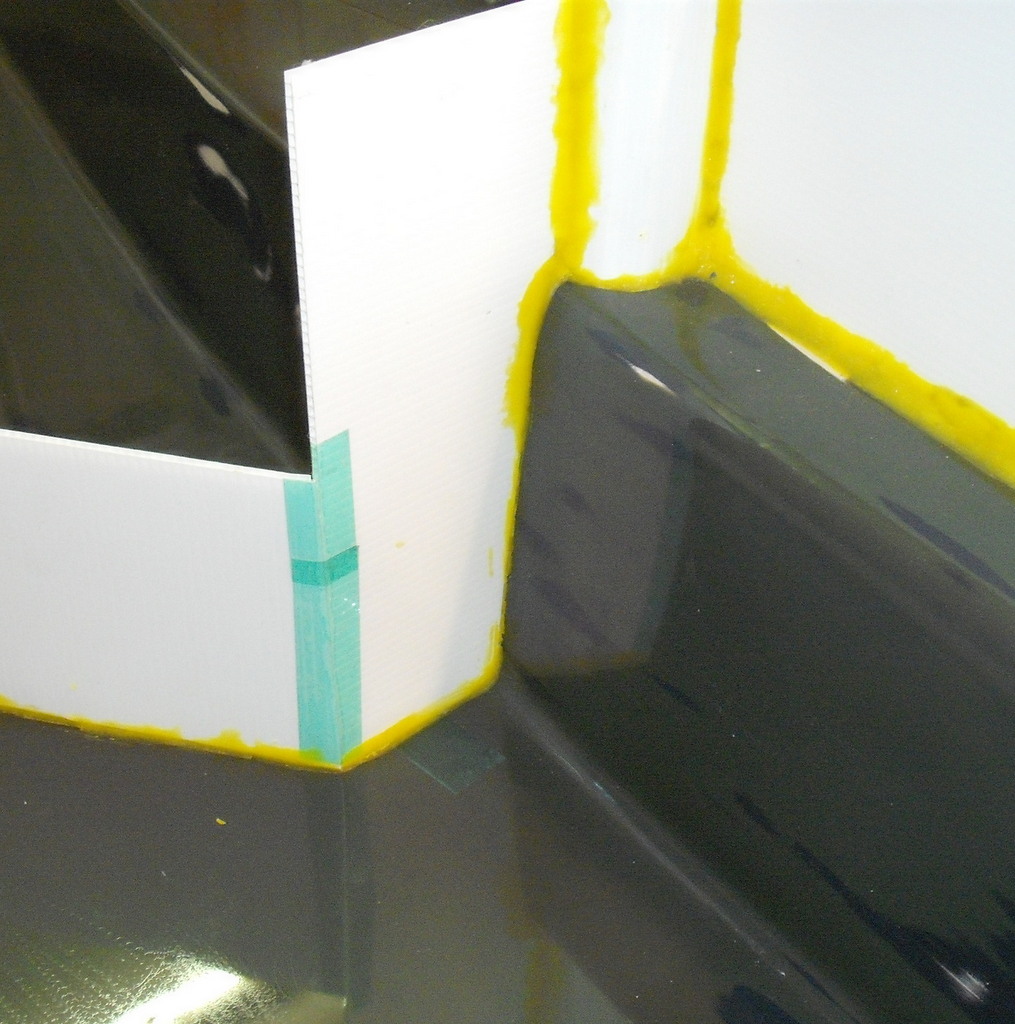 |
A bit of fence detail. As you might be able to see, I’ve tried to make the wax form an edge around the bottom of the mould. To be honest, it doesn’t matter here as there needs to be a return, and a fillet, on this edge but it’s good practice for the bits that are going to generate flash lines. |
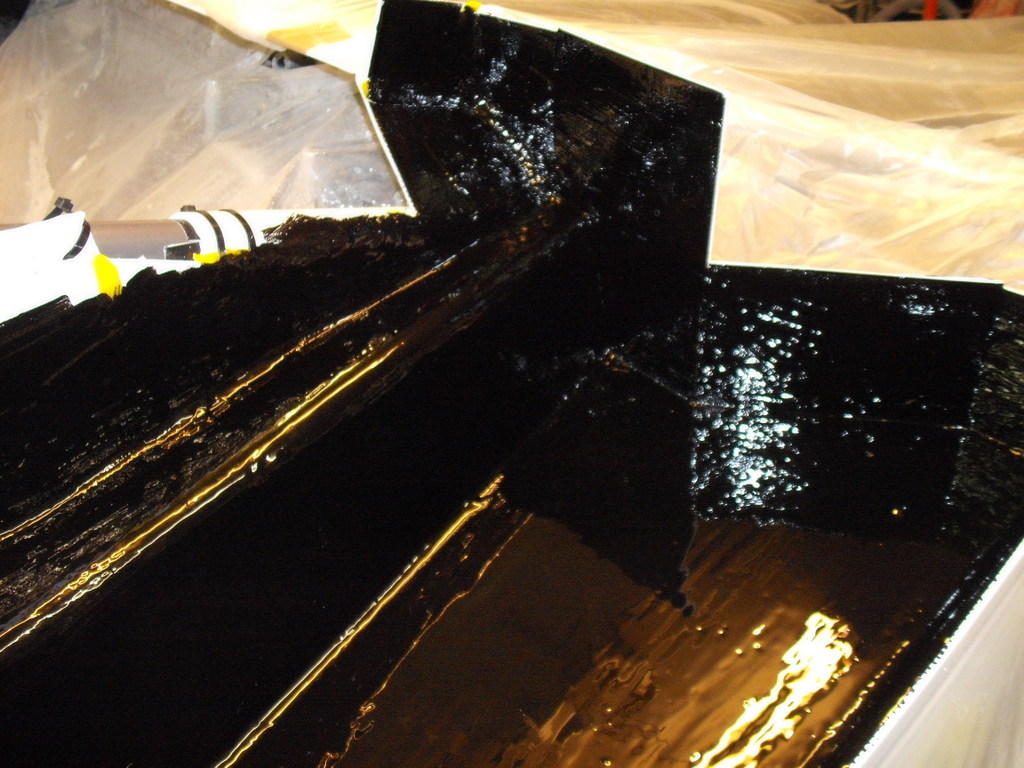 |
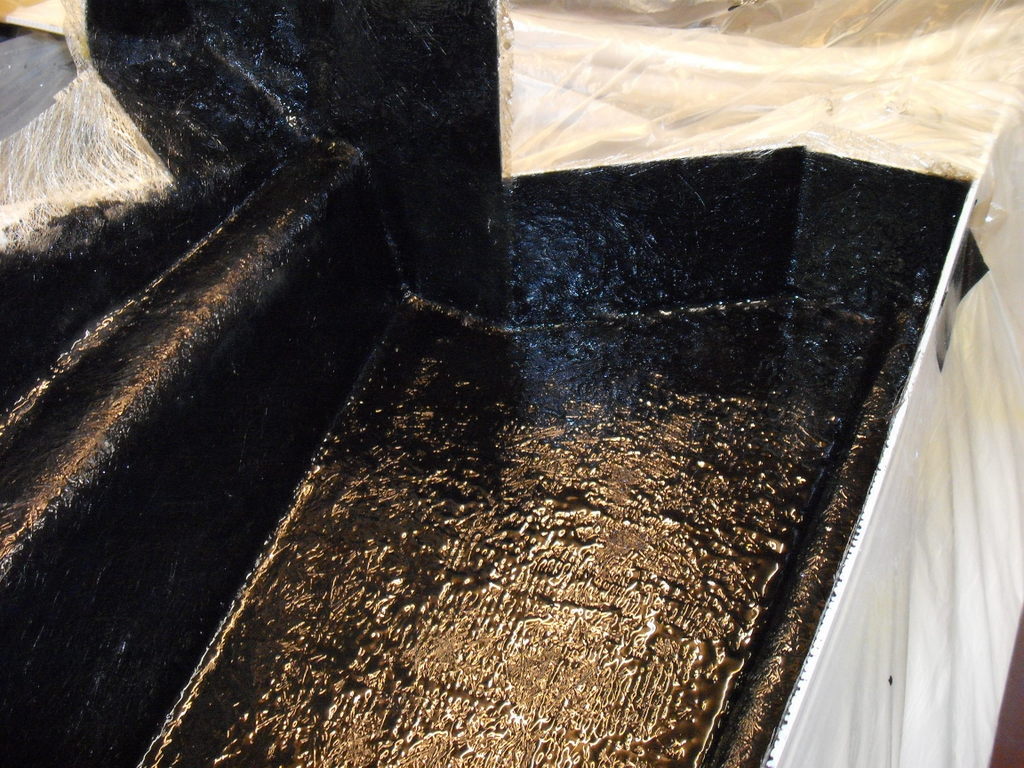
Here’s some horrible black gel coat. As you can tell it’s, err, black. You can also see that it’s confusing the camera. From experiment this vinyl ester gel takes a long time, overnight at least, to go off and is very sensitive to temperature. Good job I’m doing this in the winter, not that we’re having one of them anyway. |
 |
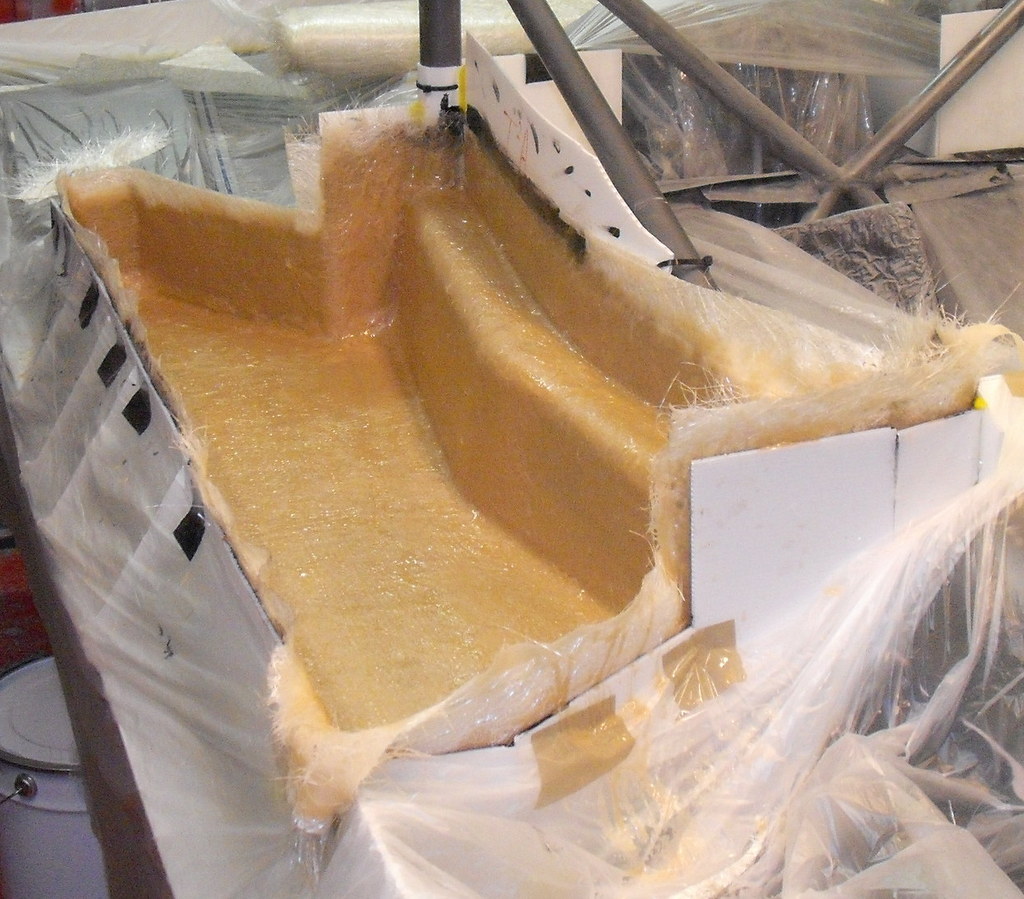
This is the same mould, albeit with the coupling coat, and resin, applied. This is a special layer that insulates the vinylester gel from the polyester moulding resin. |
 |
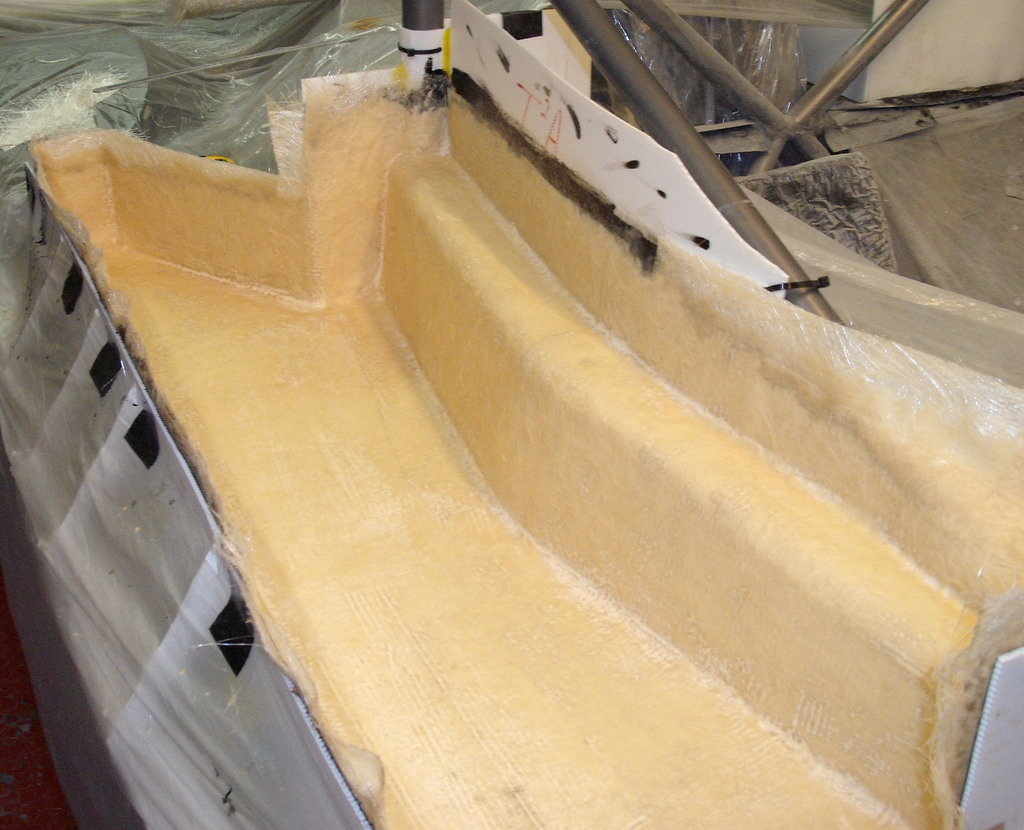
And finally, a mould. This photo was taken not long after the resin had been applied. (That makes it sounds a simple process. It’s not…) |
 |
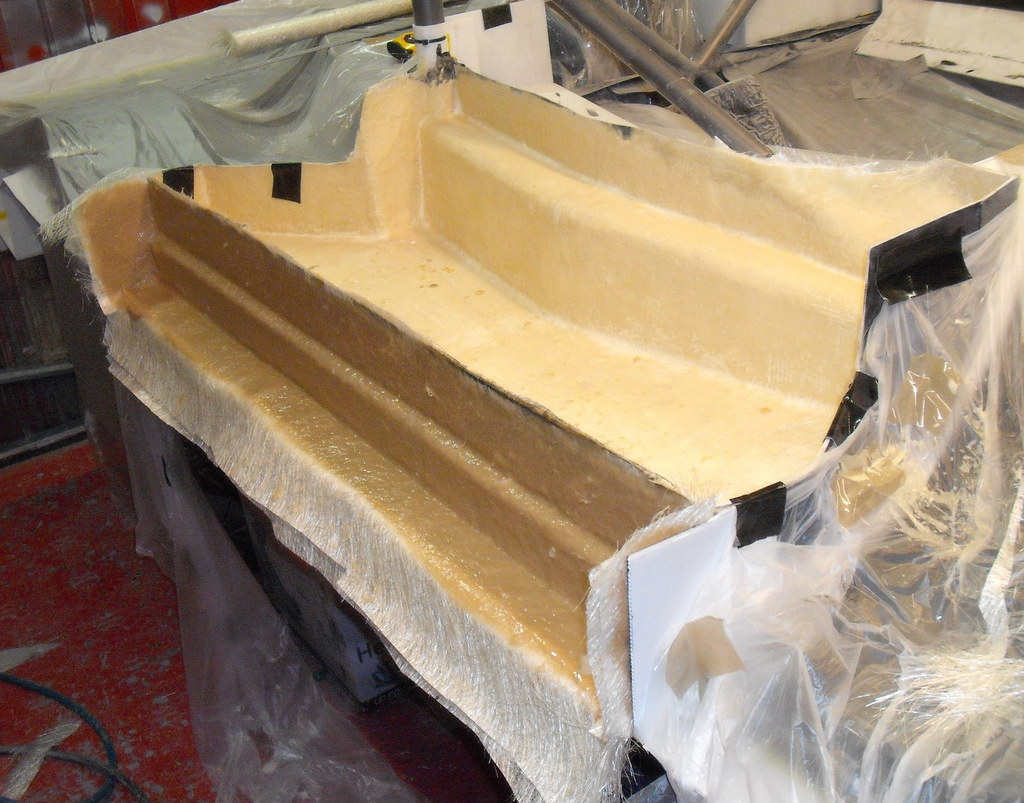
Later on, it goes like this. If you look hard you can see it’s look powderey and I think this is because it’s a filled resin with some sort of powder in it that stabilises the moulds. At least that sounds good anyway. |
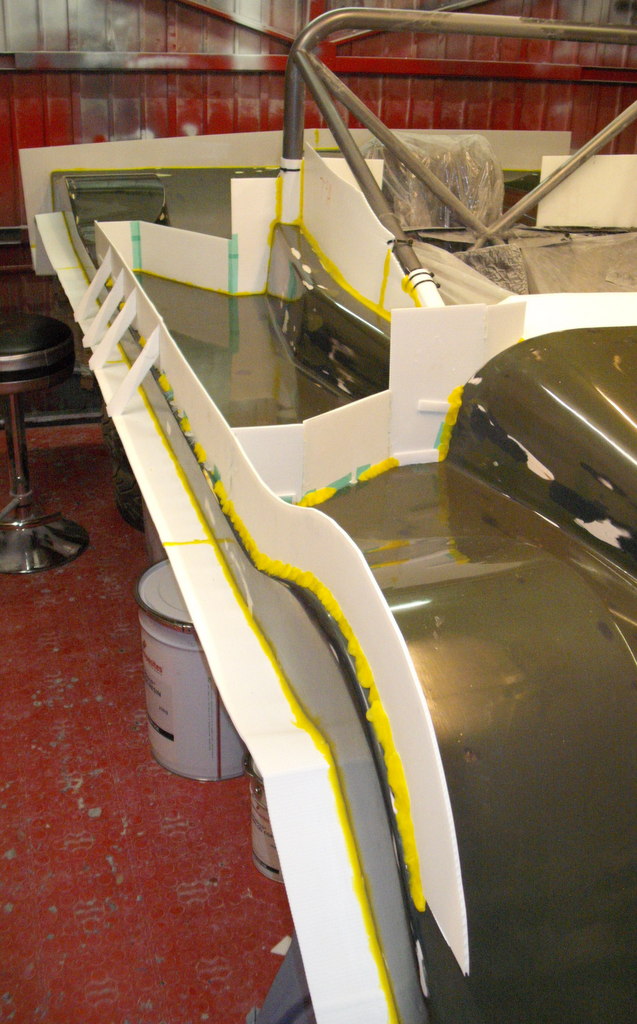
 That’s the basic process. Subsequent moulds are laid up against more fences (having torn down the ones so laboriously put in place). For example, here’s the outer mould from that bit I’ve included the photos of.
What we’ll do, before even trying to remove the mould, is to drill some holes through the flanges so that the parts can be bolts firmly together in order to make the actual moulding itself.
 I’ve been pressing on with the rest of the moulds (there are 12 in all). Here’s the front left one.
In fact, that means I’ve now done 5 out of the 12. This one, in particular, is probably one of the two hardest ones due to its sheer size. I must have put about 8kg of resin into it. I am actually worried that the weight of the moulds will be too much for the buck underneath.
Even more worrying, of course, is that the mould release won’t. That’s a really horrible thought which I shall leave you with…
Feeling terribly guilty that I’ve not been able to help with more than 1 side at the moment. 🙁