
 It comes to something when you choose the same name for a post that you’ve used before. I probably need to be doing something different at some point.
Ignoring that issue, I’ve completed adding the new radiator ducting with the bendy carbon fibre.
 With the ducting in place, I moved onto the suspension. I’ve crack tested all of the components now and not found any problems, other than the quantity of penetrating red dye that’s been sprayed about the place. With that done, and the odd rod end replaced, I started putting the front suspension back in place. As it was easy to do with the car in bits, I tool the opportunity to measure, again, the front wheel caster with the uprights off. This is easily done by creating a fake “king pin” using some measurements taken from the uprights. See the photo here. I set the caster to 6°; a book I have says it ought to be about 5° but to assume that the car is going to set up nose down slightly which will therefore reduce the caster slightly.
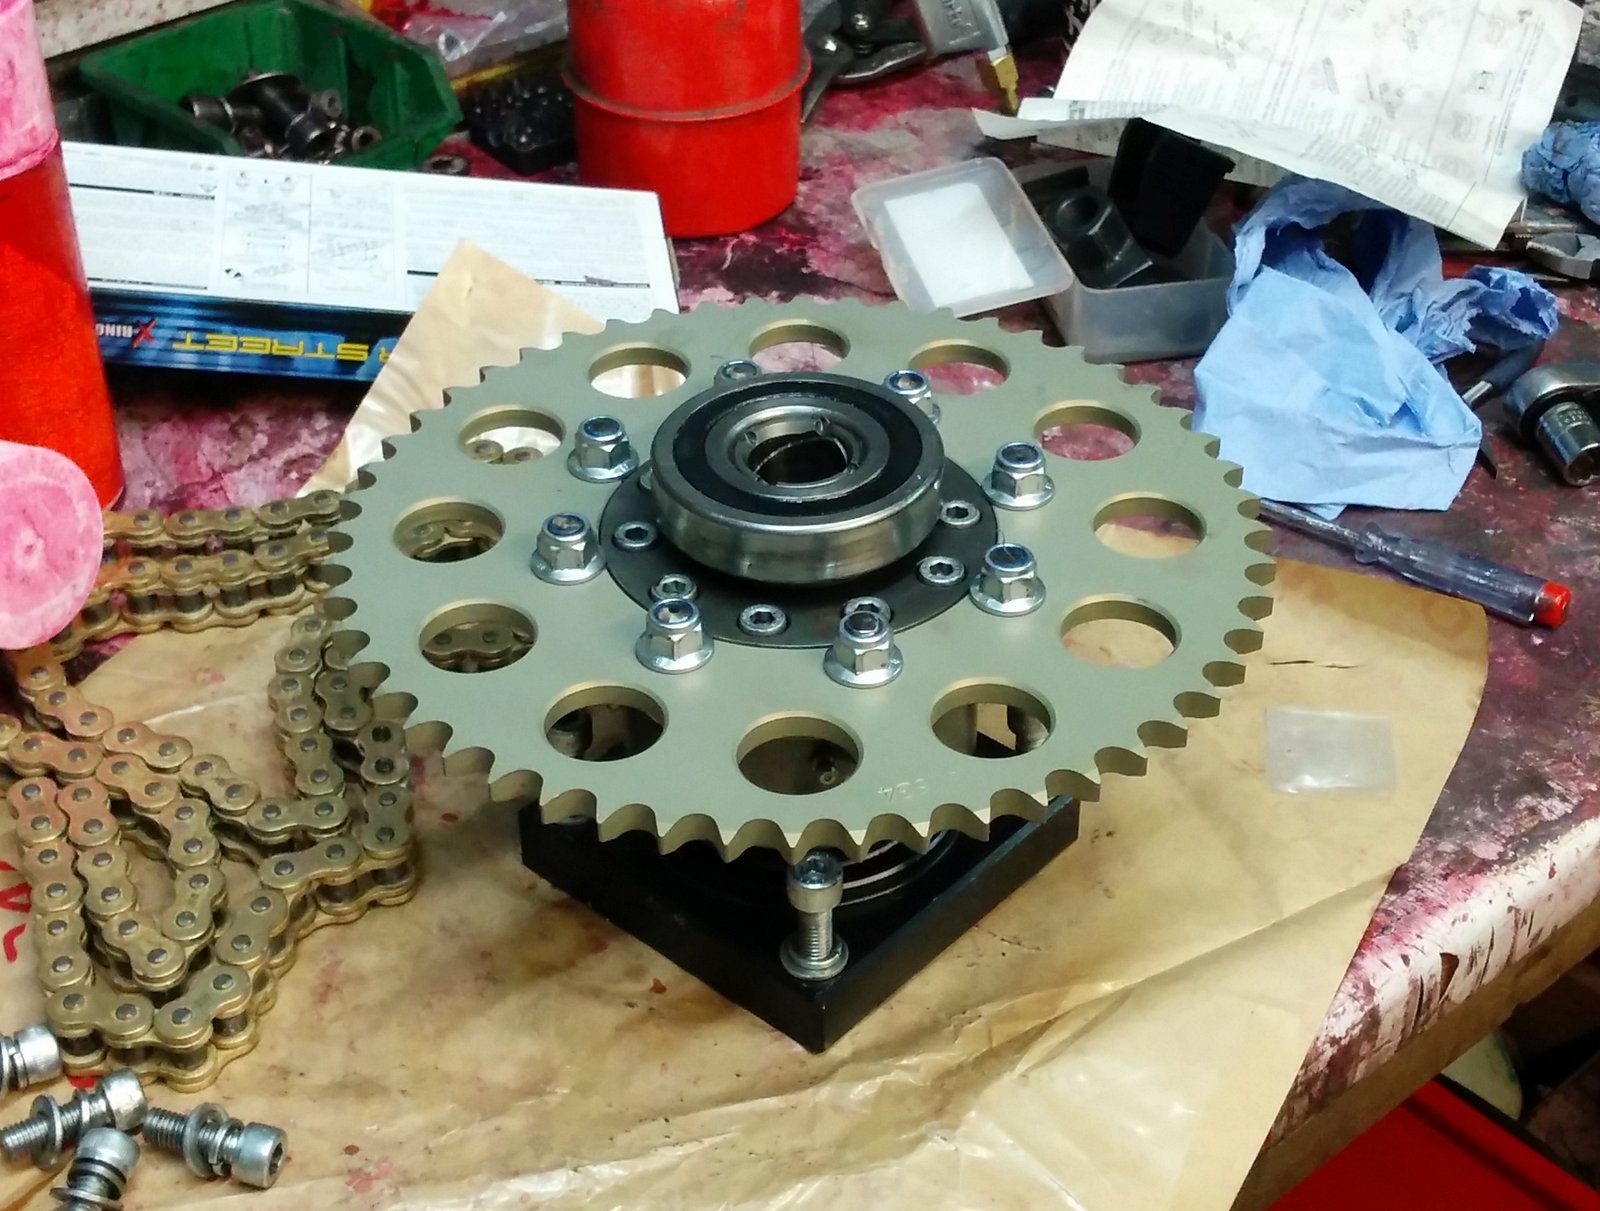 Next up was to look at the sprockets. I ordered some sprockets a while ago to replace the ones that were obviously nadgered at the end of last season. Here’s the new sprocket being bolted back onto the diff that I took off (and cleaned up) a while ago.
 To go with the new driven sprocket I changed the chain. With the diff out of the car it was a whole lot easier riveting the chain together while it was on the bench and not in the car.
So, without having an engine to put back in the car at the moment that’s about all I can do to the chassis and the various bits attached to it. It was therefore time to think about bodywork again.
The main thing I want to do is to make a carbon fibre rear component. That’s a huge moulding, although a bit simpler probably than the front one. But, before getting stuck in, I’ve been musing about how to get some gelcoat to stick properly to the mould before adding the carbon. That would mean that I would be able to get a nicer finish and, possibly, leave it carbon fibre black which would at least mean I didn’t have to paint it.
For some time I’ve had some ostensibly brushable gelcoat and I did some test pieces with this and various sorts of mould releases.  Oddly, it turned out that using a combination of chemical release agent and old fashioned wax meant that the gel coat didn’t bead on the mould too much.
So, in order to test the whole thing on a smaller part that the rear bodywork I dug out one of the moulds for the sidepod tops. I deliberately retrieved the one for the side that hadn’t worked too well last time because the vacuum bag sprung a leak at some point. Here’s the mould sitting on the bench being cleaned up prior to the gelcoat being applied.
One that was done and it had gone off (you don’t apply reinforcement when the gel is tacky like you do for glass fibre) I went through the usual process which, in case you’ve not been paying attention, goes as follows:
- apply outside layer(s) of carbon reinforcement,
- apply core material,
- apply inner layer(s) of carbon,
- add layer of peel ply,
- add infusion mesh as required,
- add resin feed line,
- add inlet and outlet vacuum ports,
- construct vacuum bag and encase mould,
- test for vacuum,
- repeat steps 8 and 9 until bored,
- make up resin and connect input line to resin pot,
- establish vacuum and suck in resin,
- worry incessantly that there’s not enough resin, or it’s going to go off too early or it’s not going to get into all the corners of the mould,
- when the flow of bubbles dies down seal off the ports,
- repeatedly check the mould while worrying that the resin isn’t going to go off or that the bag will spring a leak,
- leave for a day or so,
- remove the vacuum bag,
- remove the peel ply and mesh which are now solidified with resin and therefore really reluctant to separate from the back of the moulding,
- while doing that worry that the moulding isn’t going to release from the mould,
- remove one of the parts of the mould and discover that the moulding just about falls out of the mould and
- breathe a sign of relief and tidy up the composites workshop (my special term for one of the spare bedrooms).
Easy, you see!
 When that was done I now had a super shiny sidepod top. The photo shows the part as it came out of the mould so it needs a lot of trimming and the plugs for the bodywork catch housings removing.
 The problem is, I’ve now got a bit of a dilemma. Should I remake the rest of the bodywork using the new technique leaving the whole thing shiny carbon black? It’s a lot of work bit it’s quite an attractive thought…